Lesson 3.5: Using Themes and Cell Styles
Objective:
In this lesson, you’ll learn how to make your Excel workbooks look really good. You’ll discover themes to give everything perfect and matching style. Also, you’ll find out about cell styles, which help you format things quickly. In the end, you’ll learn using themes and Cell styles and how it makes your worksheets look professional and consistent.
Explaining the concept of themes in Excel:
- Excel themes are predesigned combinations of colors, fonts, and effects that significantly influence the visual representation of worksheets or spreadsheets, ensuring a professional look.
- In Excel, themes bring together colors, fonts, and visual effects to create a unified look, dramatically changing cell colors, font styles, and overall formatting.
- Applying an Excel theme contributes significantly to the presentation and readability of data, making it visually appealing and facilitating easier interpretation for stakeholders.
- Each Excel theme typically comprises 12 colors, two fonts (one for heading, one for body), and various effects for shapes and SmartArt.
Main Components of Themes:
Colors: A theme includes a set of colors that are applied to various elements in your workbook, such as text, background, and borders. These colors work together harmoniously to create a visually cohesive design.
Fonts: Themes come with predefined font styles for headings and body text. Applying a theme adjusts the font settings for titles, subtitles, and content, maintaining consistency across the document.
Effects: Effects refer to visual enhancements such as shadows, reflections, and glows. Themes include these effects to add a polished and professional look to your charts, shapes, and other graphical elements.
How do you apply the process of Themes:
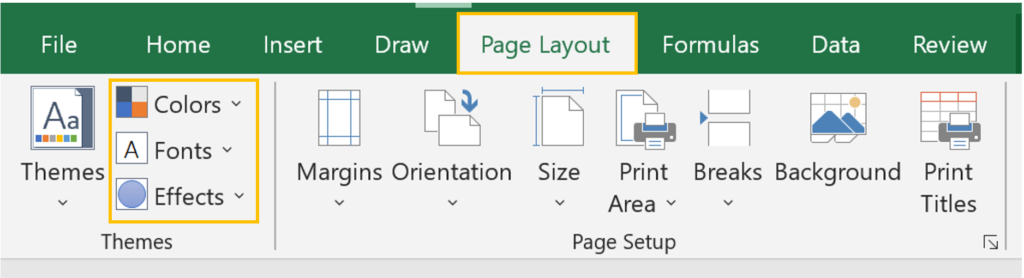
- Open your Excel workbook and go to the Page Layout tab on the Ribbon.
- In the Themes group, you’ll find a dropdown menu displaying various theme options. Click on the menu to see the available themes.
- Click on the desired theme to apply it to your entire workbook. As you do this, you’ll notice a consistent change in colors, fonts, and effects across all sheets.
- After applying a theme, you can customize it further by going to the Themes dropdown and selecting Theme Options. Here, you can adjust individual elements such as colors and fonts.
- If none of the predefined themes suit your preferences, you can create a custom theme by selecting Customize Fonts or Customize Colors Within the Themes dropdown.
Let’s try to change themes in the previously used scenario (in Lesson 3.1).
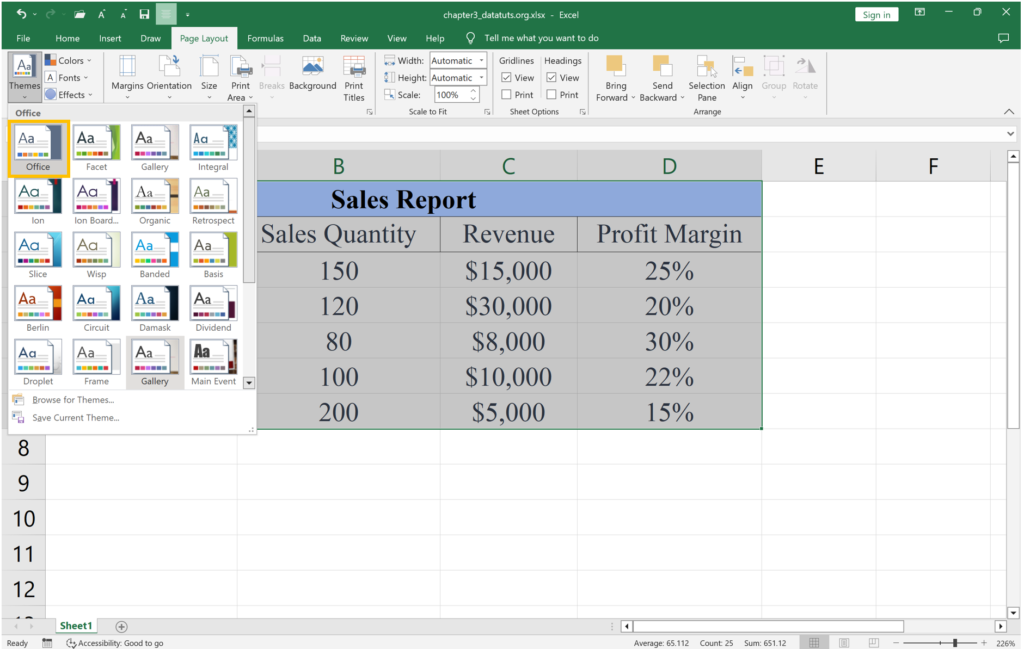
- Similarly to the above process, navigate to the Page Layout tab on the Ribbon.
- From the “Themes” group, select the “Themes” option and notice that the default theme “Office” is selected.
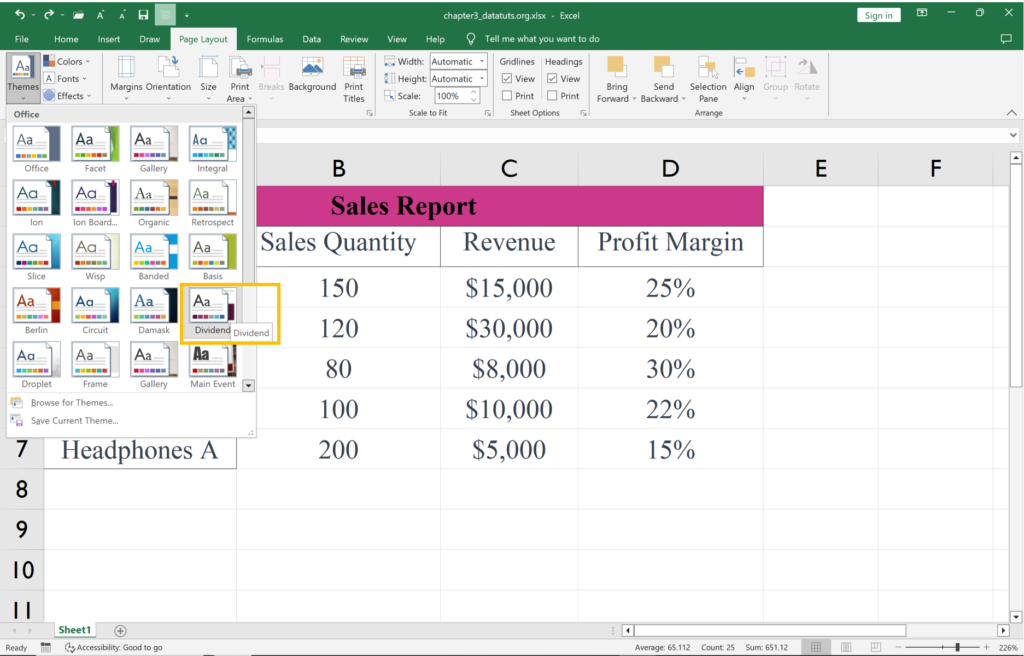
- Let’s change the default theme to “Dividend”. We can notice that the visualization of data has changed. That indicates the theme is successfully applied.
So When you Applying Custom Themes in Excel:
We already know that excel provides default themes, where you may need a specific theme to align with your document’s requirements. Default themes in Excel encompass various colors, fonts, and shape effects. However, the flexibility to tailor these preferences according to your needs is available through custom themes. This allows for a consistent, cohesive, and professional appearance in your workbooks, matching the color or styling guidelines you’ve established.
Customizing a Workbook Theme:
Customizing a workbook theme involves adjusting the color, font, and shape effects of an existing theme to suit your preferences. Using the tools found under the Page Layout tab within the Themes group for this purpose.
Changing Colors:
Select a Color Scheme:
- Navigate to Page Layout > Colors. Choose a color scheme from the available options, and the selected colors will be applied throughout the workbook.
Create a Custom Color Scheme:
- For more personalized color schemes, again go to Page Layout > Colors > Customize Colors. In the customization window, pick colors for text, background, accents, hyperlinks, etc.
After making the desired changes, assign a name to your custom color scheme and click Save.

Like the theme colors you can change the Fonts and for the Altering theme effects in Excel allows for the application of distinct styles to shapes and fonts within the worksheet. To adjust these effects, simply navigate to the Page Layout tab and select Effects. Clicking the dropdown icon associated with Effects reveals a variety of pre-existing Office effects provided by Excel. This feature enables users to effortlessly enhance the visual presentation of shapes and fonts throughout the Excel sheet.
Saving a custom theme that you’ve created in Excel:
Saving a custom theme in Excel is a simple process. After customizing your workbook’s colors, fonts, and effects using the Page Layout tab, navigate to the Themes dropdown. Select Save Current Theme, name your theme, and click Save. Now, your custom theme is saved and can be easily applied to other workbooks by selecting it from the Page Layout > Themes menu. It allows you to maintain a consistent and personalized visual style across multiple Excel documents.
Why need to apply Themes?
- Using themes may ensure a consistent look and feel throughout the workbook, promoting a professional appearance.
- Applying a theme is a quick and efficient way to format the entire workbook without individually adjusting each element.
- Making changes to a theme automatically updates the formatting across the entire workbook, saving time and effort.
Cell Style in Excel
- In Excel, a cell style is a grouping of diverse formats or attributes that streamline formatting within cells. Instead of applying individual formats separately, using a single style is a more efficient way to implement multiple formats simultaneously. Cell styles provide a quick and effective method to alter the appearance of a sheet.
Main Component of Cell Style in Excel
- Font Settings: Predefined font settings cover attributes like family, size, boldness, italics, and underline for text within a cell.
- Number Formats: Various Cell Styles offer predefined number formats for easy formatting of numeric data, including options like currency, percentage, date, or general number formats.
- Borders: Cell Styles include configurations for borders that enhance cell boundaries with different styles and thickness, creating visual distinctions.
- Cell Fills: Each Cell Style may feature a specific fill color or pattern, allowing users to highlight cells or create visual separations between different sections of the worksheet.
How do you apply the process of Cell Styles in Excel:
Excel offers two effective ways to apply cell styles: using pre-installed styles or creating custom styles manually by choosing fonts, colors, and other formatting elements.
Existing cell styles, grouped into categories like Normal, Bad, Good, and Neutral, cover a wide range of data types, including titles, headings, colored elements, currency, and number formats. To apply these styles in Excel, follow these steps:
- Select the Target cell or range of cells to which you want to apply a Cell Style.
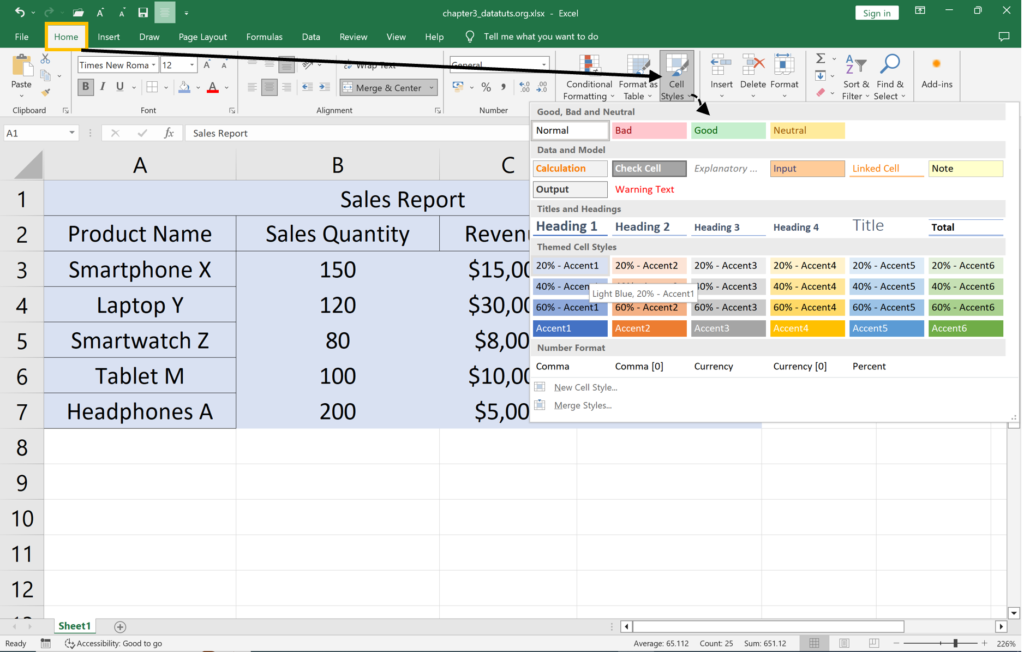
- Go to the Home tab on the Ribbon. This tab is where you’ll find various formatting options.
- In the Styles group, locate the Cell Styles dropdown. Click on it to reveal a list of available styles.
- Browse through the list of Cell Styles and select the one that suits your formatting needs. Click on the chosen style.
- Once selected, the chosen Cell Style will be applied to the selected cell or range. Verify that the formatting is as desired.
Let’s try to apply Cell Style on previous Sales Report Data. We used the previous scenario (in Lesson 3.1).
Apply a Cell Style: In the “Styles” group, find the “Cell Styles” option.
Choose a Cell Style:
- Click on “Cell Styles” to open the dropdown menu.
- Choose a predefined cell style that complements the visual appeal and professionalism you want for your sales report. For example, you might select a style that emphasizes headers or enhances the overall readability.
Customize the Cell Style (Optional): If needed, you can further customize the selected cell style. Right-click on a cell with the applied style, choose “Modify,” and adjust formatting options such as font, border, and fill.
Adjust Font and Number Formatting:
- While the data is still selected, make additional formatting adjustments.
- Modify font settings for a clean and professional look. Ensure headers are bold, and font types are consistent.
- Format numbers appropriately using the “Number” group in the “Home” tab. For example, use the “Currency” format for revenue.
Save Changes: Once satisfied with the cell style and overall formatting changes, save your workbook.
Edit and remove Cell Style in excel:
For editing a cell style in Excel here, in a sales report, first, open the workbook and select the data. Navigate to the “Home” tab, click on “Cell Styles” in the “Styles” group, and choose the desired style. If necessary, right-click on a cell with the applied style, select “Modify,” and customize formatting options. To remove a cell style, right-click on a cell with the style, choose “Clear,” and then “Clear Formats.” This concise process allows for efficient editing of cell styles, ensuring a tailored and professional look for the sales report while providing the flexibility to remove styles when needed. Remember to save your changes to preserve the updated formatting.
Why need to apply cell style?
- Makes formatting quicker by applying various styles at once.
- Keep a consistent and professional appearance in your whole sheet.
- Lets you quickly change how your sheet looks with just one click.